
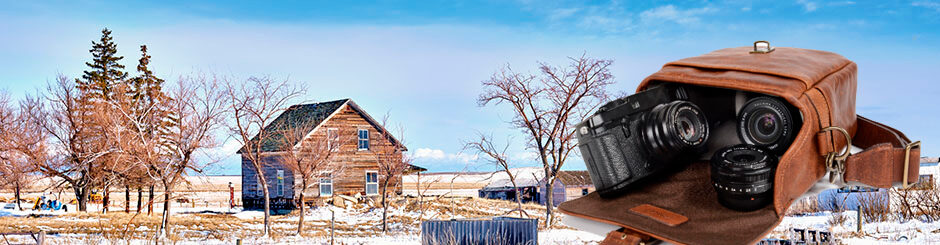
Memories on the Whitemud


Bob Carnie, whose brick-and-mortar studio and gallery are located at the centre of the art district of Toronto, also mentors those interested produce prints. He provides expertise which includes photo printing, framing, and archiving negatives.
The attached gallery is a non-representational gallery that displays the work of artists he has enjoyed and supported. His particular interest is gum over palladium prints. These prints are hand coated onto artist-quality rag paper, and the image sits within the fibre of the paper, giving them an inner glow that is not obvious in other printing methods. Then a gum layer is added to the print, increasing contrast, depth and colour. He suggests it is a similar process to what Edward Steichen used when printing his photograph The Pond – Moonlight (1904).
As you can see on his website, he uses several other printing methods, including jet ink pigment prints and silver gelatin.
Bill Schwab, runs North Light Photographic Workshops in northern Michigan. He has posted many YouTube instructional videos on creating digital negatives, palladium prints, and wet plate collodion. He also runs on-site workshops and conducts photo tours.
Ken Miner, whose studio is located in Victoria, BC, works with handmade wet collodion photographs and Tintypes & Ambrotypes. He does conduct individual workshops in the wet plate process, and film developing & printing on request and frequently does group wet plate workshops.
Christina Z Anderson is another experimental photographer who has produced gum, salt, cyanotype, and other alternative photographic processes. She is a professor at Montana State University and does workshops all over the United States and Europe.
Silvi uses a photopolymer to create a photographic print from a plate or a photo intaglio print. The photopolymer plate is created using an Epson jet ink printer, bypassing the need for etching acids and complex resists on a metal plate. It goes directly from the printer to a UV lamp, and it is then developed in water before being inked and run through a press.
No one is an artist unless he carries his picture in his head before painting it, and is sure of his method and composition, Claude Monet
It is an illusion that photos are made with a camera… they are made with the eye, heart and head.Henri Cartier Bresson
One of the best ways to get some interesting images and, at the same time, get a better idea of how your camera works is to take some images with a slow shutter. This usually involves operating your camera in manual mode, where you, rather than the camera, set the ISO, aperture and speed. The challenge here would be to try one of the types of image-making illustrated below.
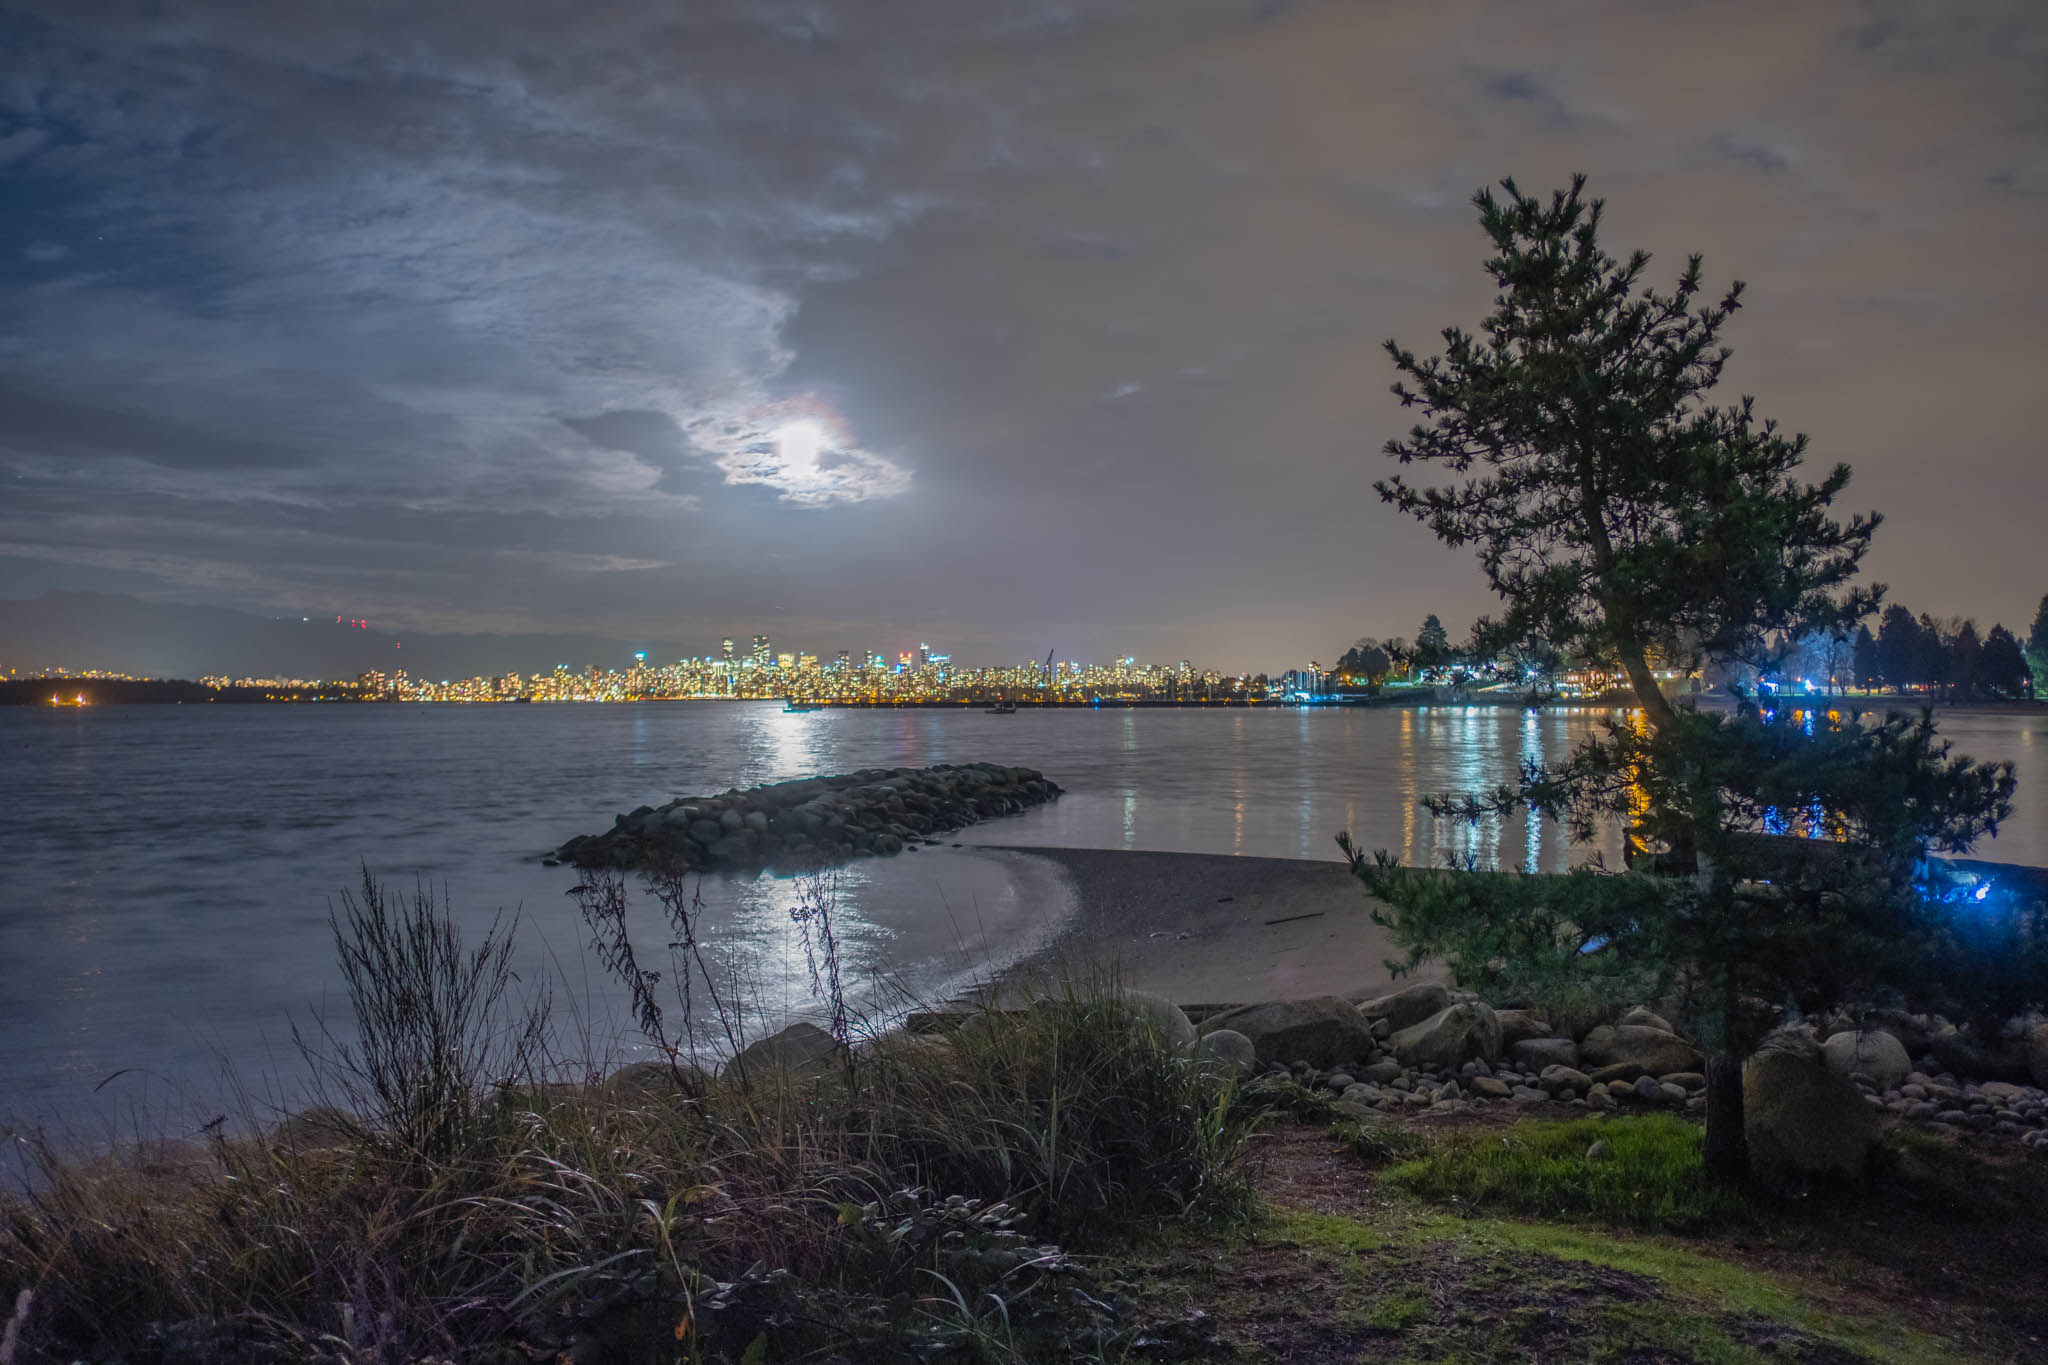
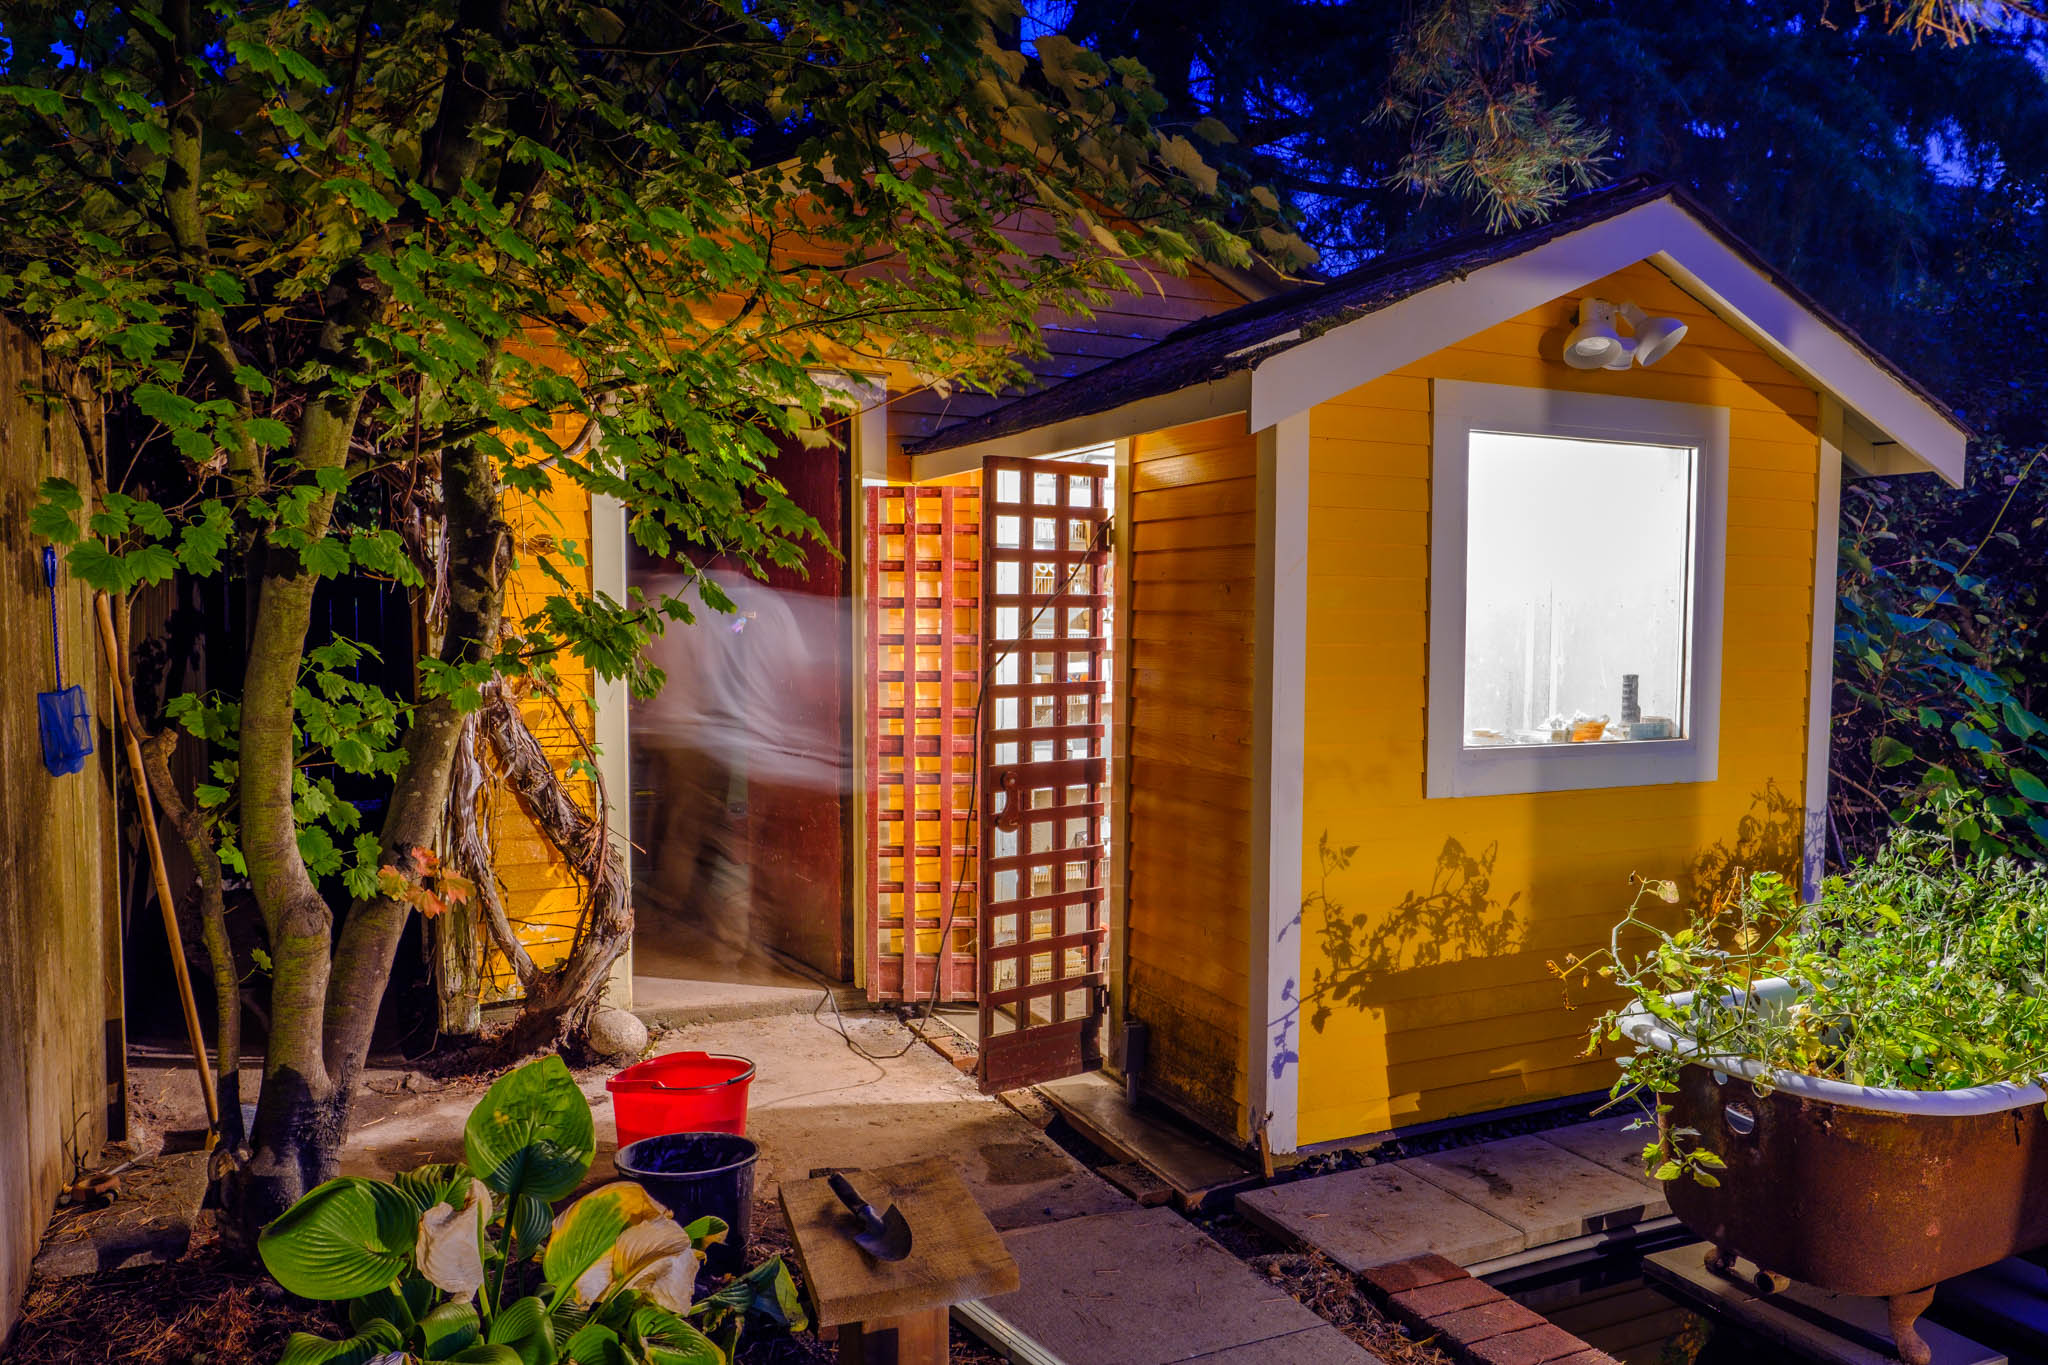
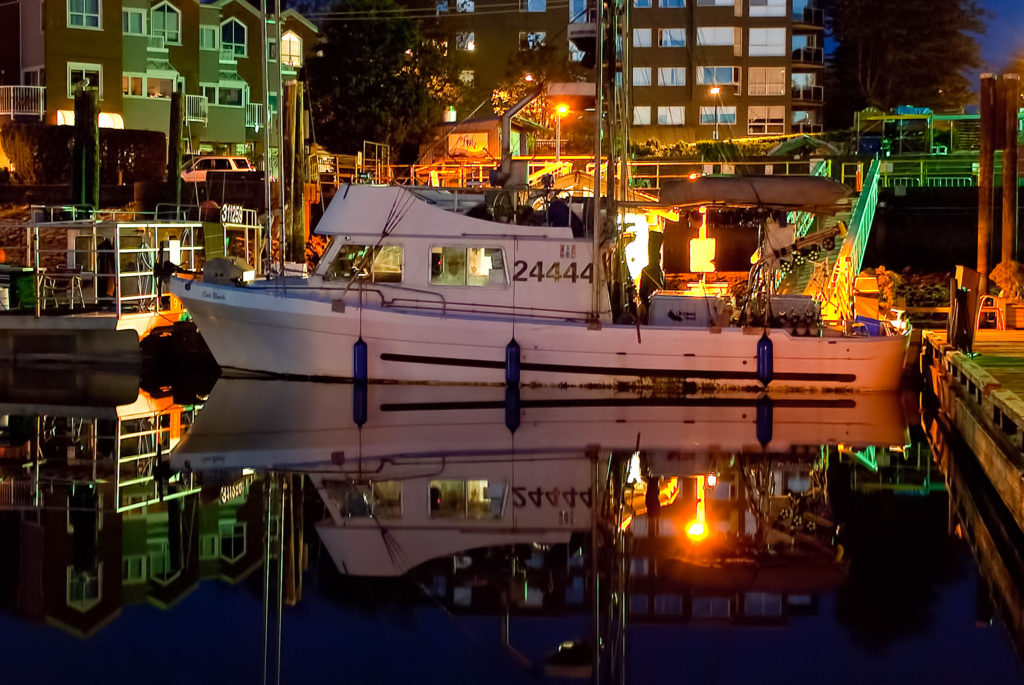
The following are examples of different night photography types from my archive. I have included the camera settings to see how I adjusted the exposure to get each image.


Tripods are often essential to shooting deep into the night and especially in astrophotography. Still, there are other reasons you may want to include a tripod as one of your basic photographic tools:
There are four components you need to consider on every tripod:

To understand how exposures vary in different light, the following table may help. Keep in mind that a camera can only see 12 to 15 stops depending on the camera. To understand the stops of light on the camera, the second diagram should help.


When you are on a tripod, you do not what to be pushing the shutter button; in the film days, we used to use a cable release which also could, if not used properly, create motion blur in your image. Digital cameras have solved this problem by adding timers for the exposure in the camera. This allows you to press the shutter, and the camera counts down, usually with a blinking light, before the shutter is triggered. This allows the tripod and camera to stabilize from whatever movement you introduce into it by pressing the shutter. Keep in mind that if you are on a wooden platform or any surface that may have some flex in it, you will also need to remain still.
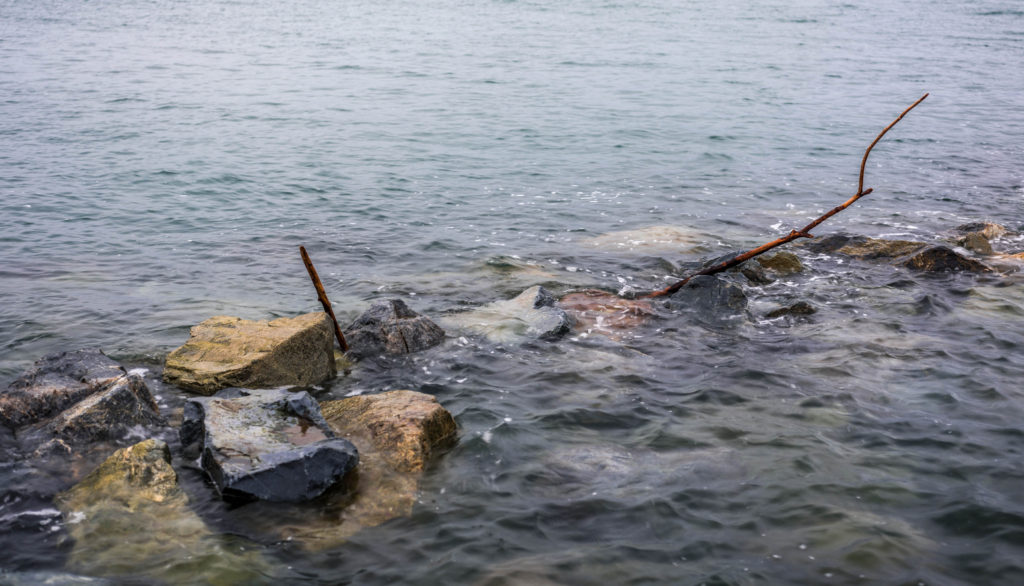
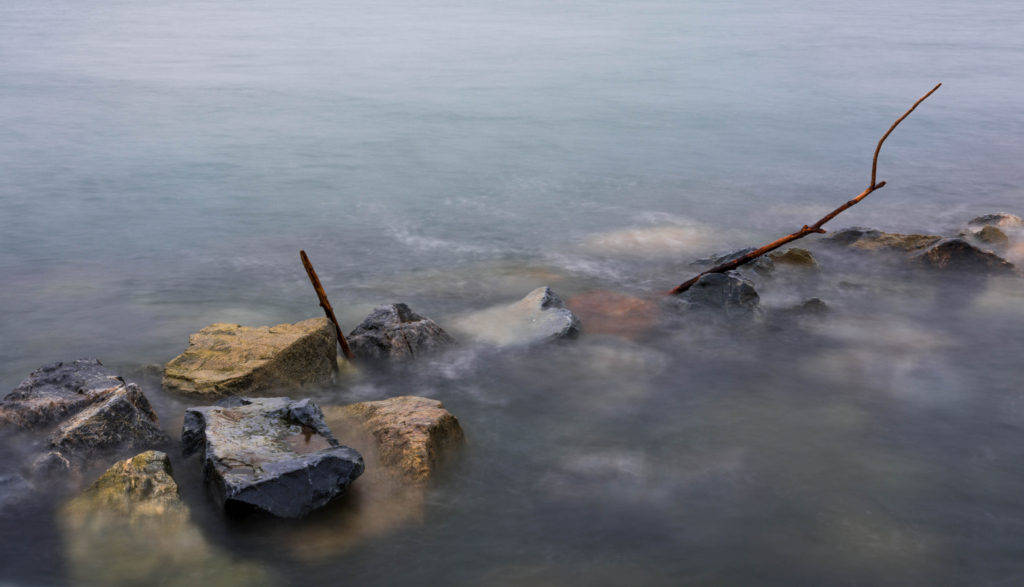
Using a slow shutter setting in your camera while on a tripod during the day can create some interesting effects on water, clouds and even busy streets. You will need a method of keeping your camera still; a tripod would be best to do this. However, you could use a ledge or table to keep it still when you depress the shutter. The process is similar to what has been described above, except during the day, there is a lot more light, which means you may need to use a Neutral Density filter to slow the speed of your camera. The two images illustrate the difference slowing the shutter speed can make.
When shooting at night, you will need to do the following, set your camera on a tripod, use a remote trigger or your timer, and the ISO should be set at its lowest ISO with the Auto ISO turned off. Then choose your desired Aperture setting and turn the speed down until the camera metering system tells you the exposure is correct. If you have a camera with IBIS (five-axis stabilization) and a very fast lens, you may be able to handhold some evening shots before needing a tripod. The alternative might be to increase your ISO, provided your camera is not too noisy.
At some point, as it gets darker, the camera’s metering system may not be able to register a correct exposure. Depending on the camera, the live view may help you see if the exposure is correct. If it does not, you may have to experiment by taking a shot and checking the photograph you just took on the back of your camera. You may have to repeat this until the exposure is correct.
Astrophotography can be a lot of fun and should get you out in the country where light pollution is minimal. If you take this up, you will find yourself in the fresh air surrounded by nature. Here is the equipment you will need: a tripod; a fast wide-angle prime lens, preferably 24mm equivalent with an aperture of f2.8 or less; and “apps.”

Where the Dark sky can be found in British Columbia is an important thing to consider, as the visibility of stars is influenced by the light from the moon and cloudy sky and how close you are to city lights.
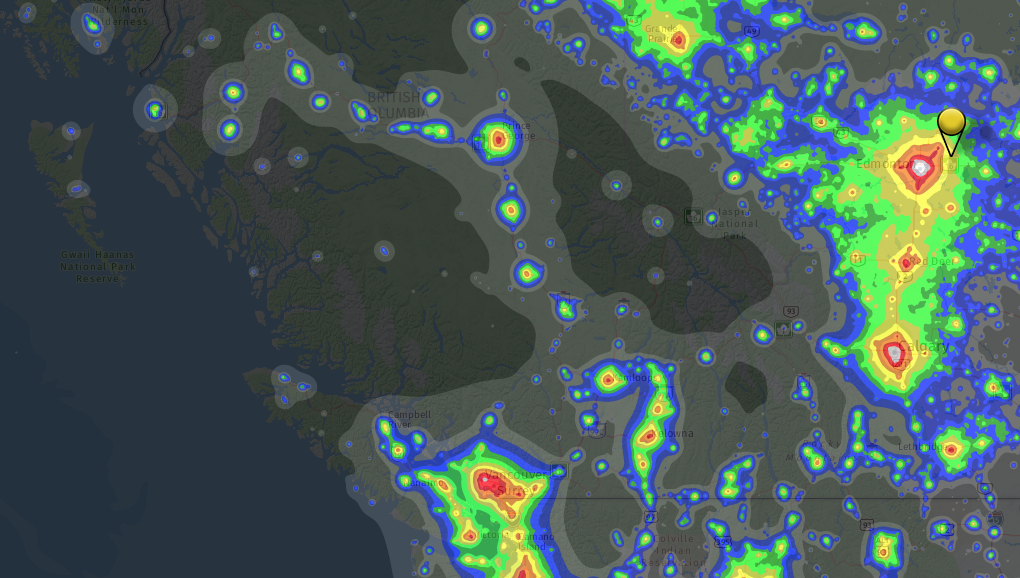
Smartphone “apps” are needed for planning purposes, but these are also available for the computer. The first step is to find a location where the stars are fully visible at night, Dark Sky Finder is one of many tools that helps with this task. Second, you will need an accurate weather program to find a cloudless night; some recommend consulting at least three sources before setting out. Third, you will need a milky way finder which should also be able to tell you when there is a new moon. It is important to know where the milky way will rise in the sky and at what time, and you do not want the light from the moon obscuring the stars. Finally, you will need to calculate when nighttime is in your location, this is especially important the further north you live during summertime when pure darkness may only be a few hours.

Ole Skjelstad has written an article about some of the mistakes he made as he experimented with night photography; his article highlights a few mistakes that helped him develop better results:
In theatre, a stage is a frame in which actors and sets create a fictitious reality into which the audience is plunged. When deciding where things should be placed on the stage to engage the audience or support the action on the stage, they talk of three basic zones. From the rear of the stage to the audience, there are three zones: upstage, center stage, and downstage. These are each divided into three or five sections, depending on the size. If just three sections, there will be a center, left, and right in each. When in the center stage zone, right or left may be referred to simply as stage right and stage left, with only the very middle of the stage being referred to as centre stage.

I think this is a useful analogy when it comes to framing a scene with your camera. When you instinctively feel there is a photograph in front of you and you are considering how to compose it, you do not have the luxury a director has to place people or sets in the frame. You have to think about what is in upstage, middle stage and downstage, or in photographic terms foreground, middle ground and background. In order to get objects in these three areas to harmonize correctly it is useful, before you make any images, to move about the scene from left to right, and perhaps look from high to low angles, to see how these three areas interrelate. I suggest doing a 360 or 180-degree look using your feet, or as much as is physically possible within the scene.
Rotating in place talking one minute at least per rotation looking for specific things such as colour or shapes vertical and horizontal. Then do a 360 around, or how much of a 360 is possible, around the elements that drew you to the spot. Pay attention changing relationship of the elements in the frame. In other words, as you move the foreground, middle ground and background will change at a different rate, this can make very large changes in the composition that might not have been apparent while you were standing in one spot. For example, by moving right you could cause a secondary element in the foreground closer or further away from the main subject in the middle ground.

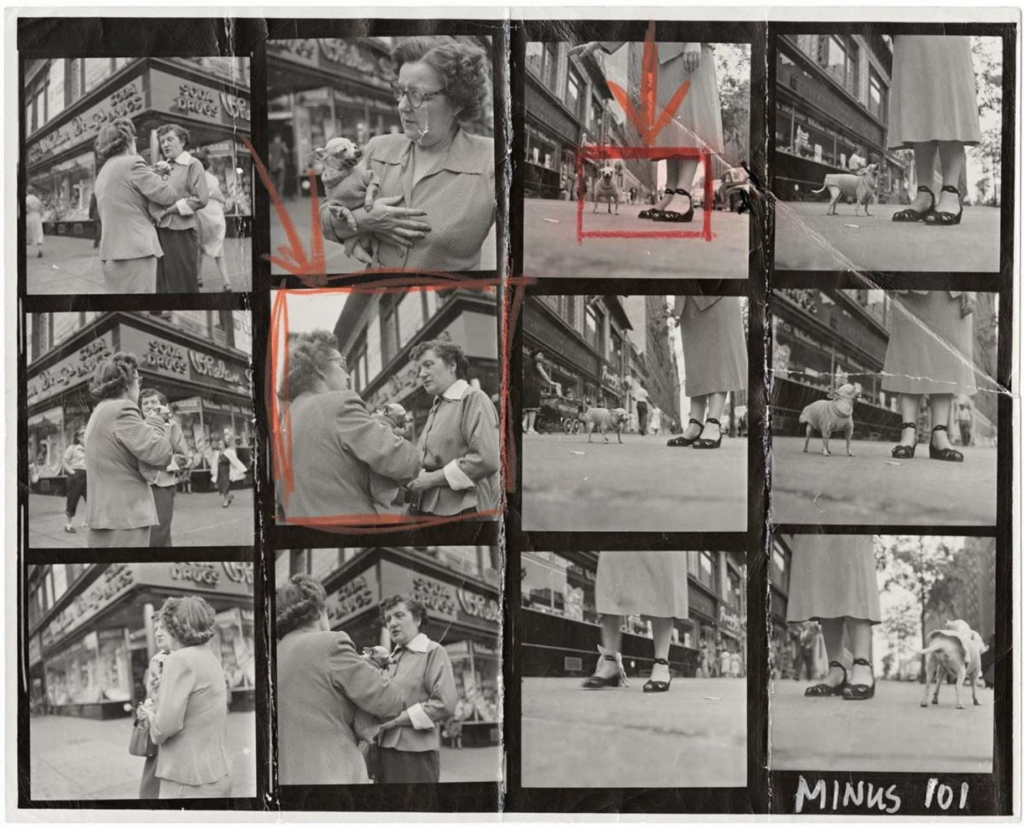
Elliott Erwitt, a Magnum photographer, has a famous image (above) called the Chihuahua New York. Looking at his Contact Sheet Print: gives you some idea of his process of creating this composition. Please note that often street photographers are forced to crop as they are working quickly and often have limited lenses on the street.
The following are examples how much different an image can be depending on how high or low you place the camera:


The following is an illustration of moving around the subject, in this case, the rotted-out trunk, and trying to decide how to place it in the image.

The following is an example of a situation where I was able to move around the subject and study it from many angles.

